

Co-Learning
How-To:
On this page, we have instructions on how to construct your own masks, puppets, and bird costumes.
Instructions from Bird Parade
Instructions on how to create the bird costumes from Birds! Birds! Birds! can be found below.
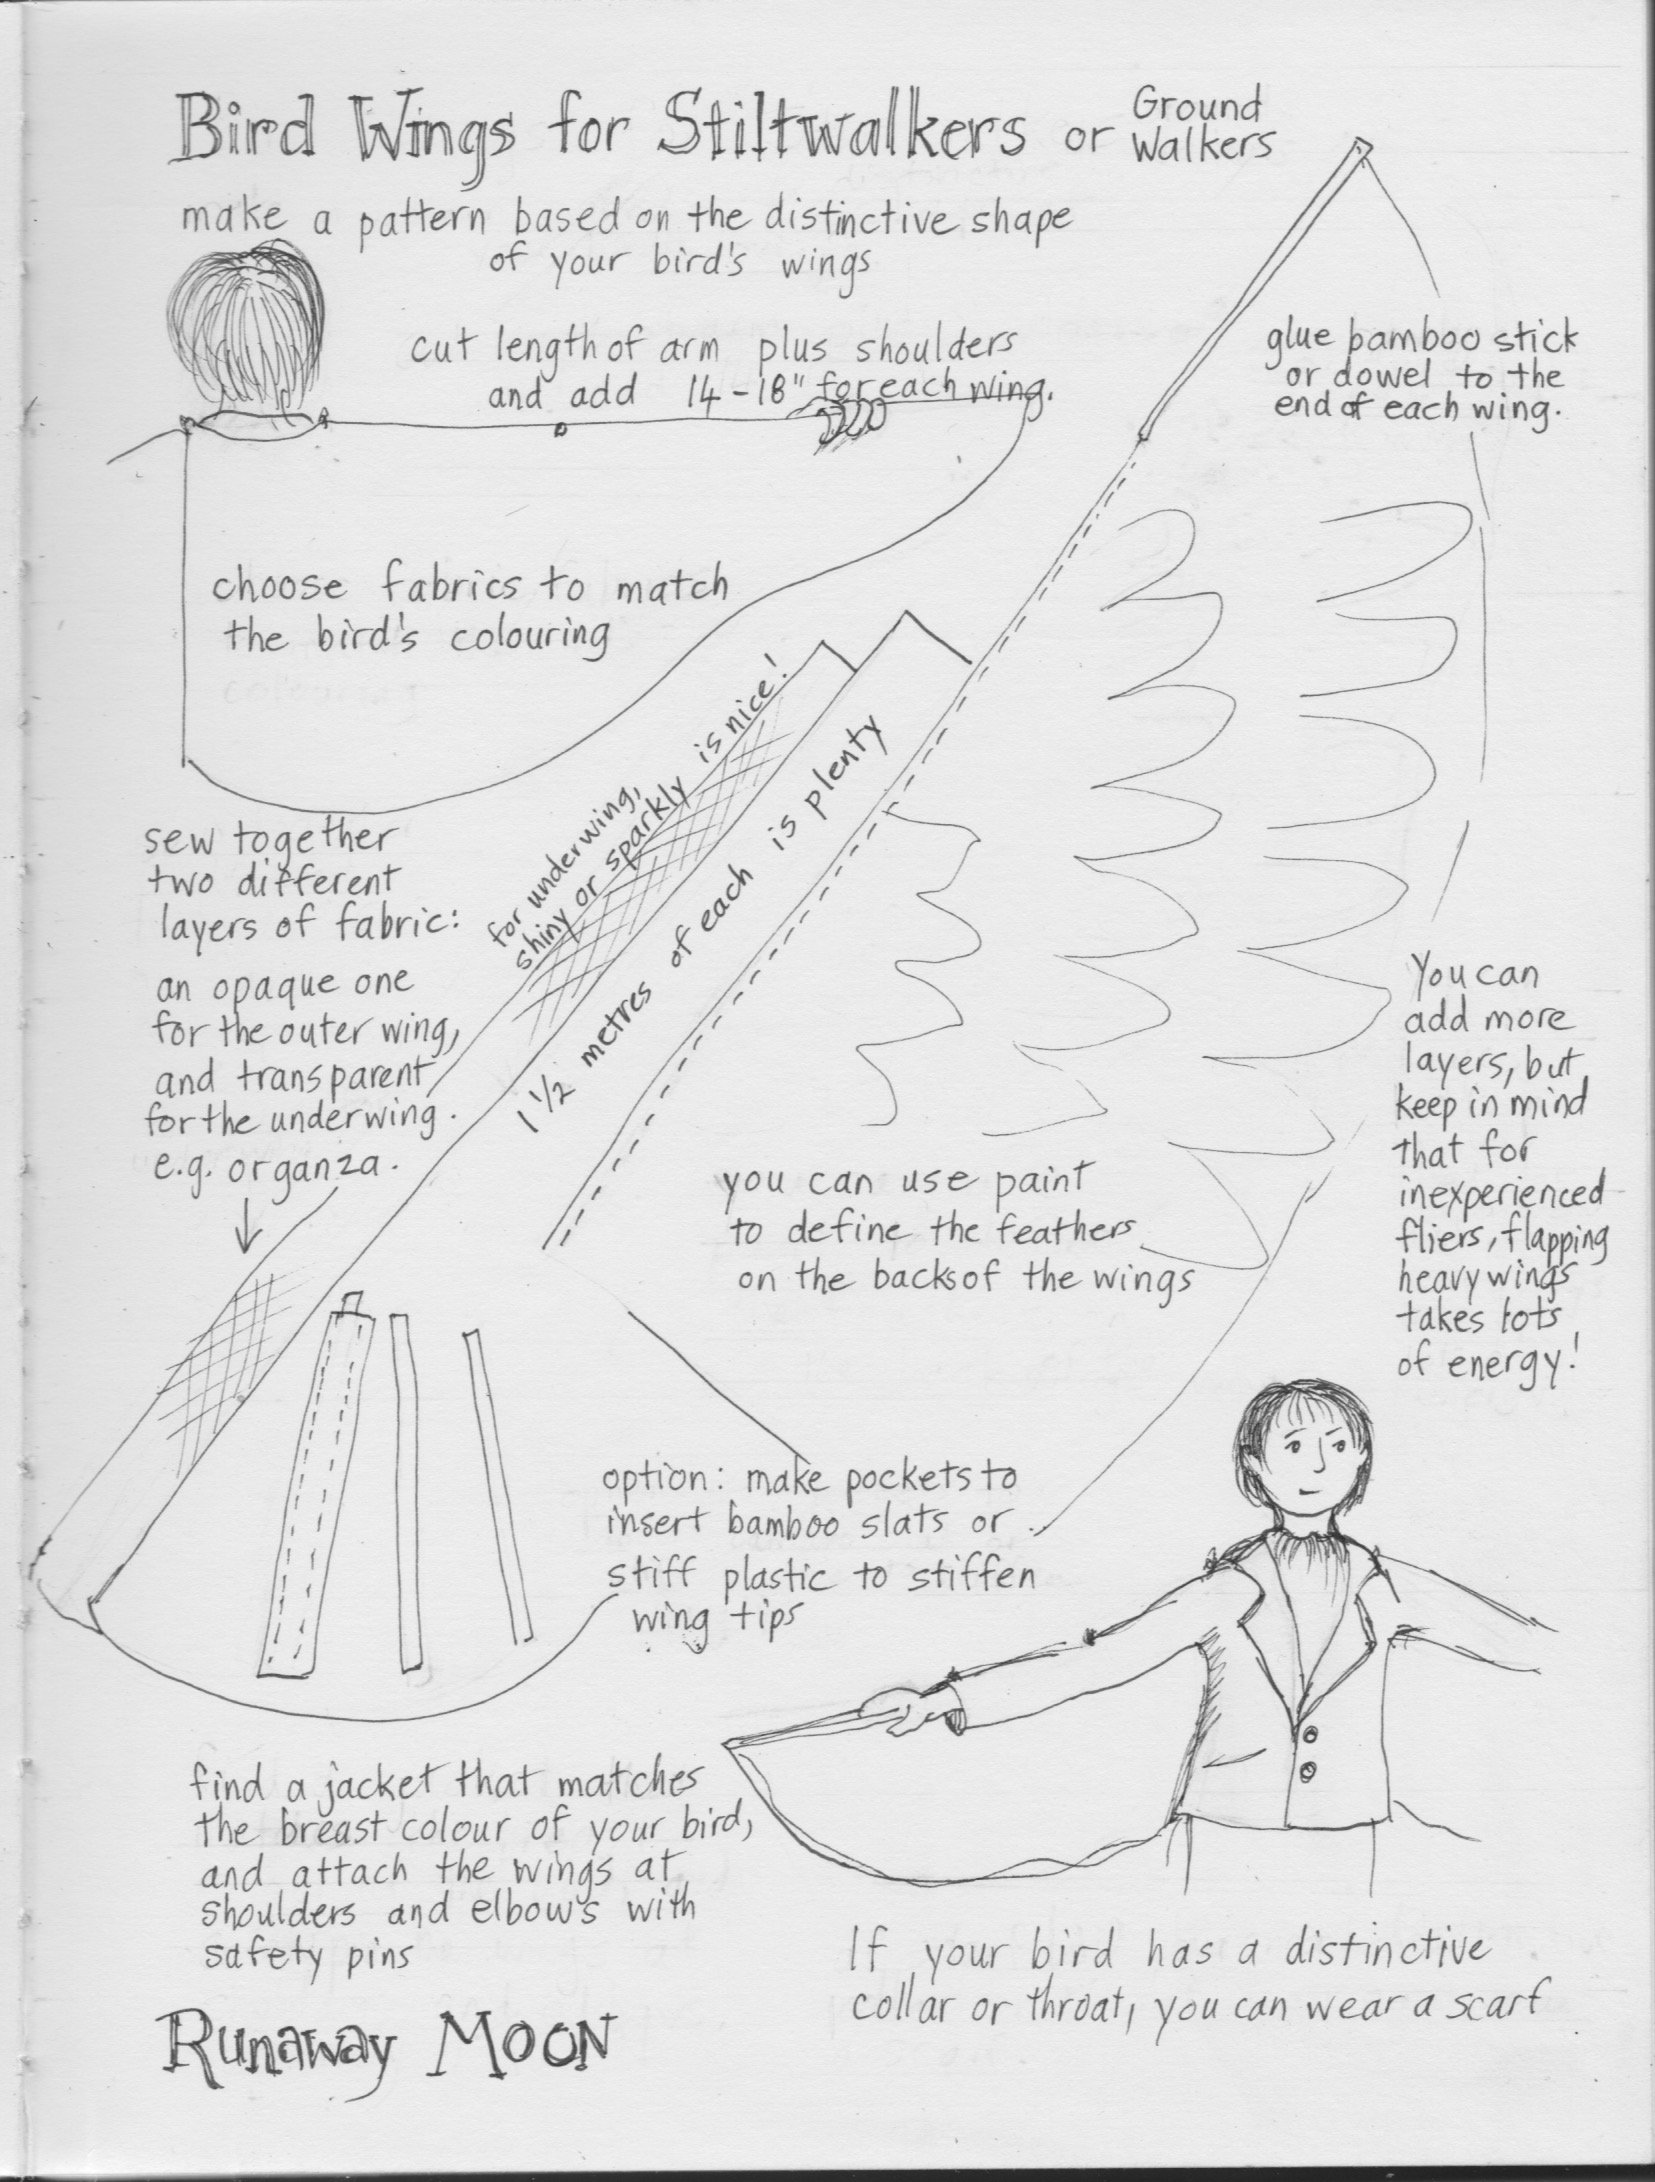
Bird Wings for Stiltwalkers or Ground Walkers
Make a pattern based on the distinctive shape of your bird’s wings
Cut length of arm plus shoulders and add 14-18 inches for each wing.
Choose fabrics to match the bird’s colouring.
Create your wing by sewing together two different layers of fabric: An opaque one for the outer wing, and transparent for the underwing (e.g. an organza)
For underwing, shiny or sparkly is nice.
1 and a half meters of each is plenty.
You can add more layers but keep in mind that for inexperienced fliers, flapping heavy wings takes lots of energy!
You can use paint to define the feathers on the backs of the wings.
Glue bamboo stick or dowel to the end of each wing for you to hold and flap your wings.
Option: Make pockets to insert bamboo slats or stiff plastic to stiffen wing tips.
Find a jacket that matches the breast colour of your bird, and attach the wings at the shoulders and elbows with safety pins.
If your bird has a distinctive collar or throat, you can wear a scarf.

Make it stand out
How To Make Stilts
Wood pieces for stilts:
A) Use a straight and knot-free 2 by 2. The height is the desired height of the stilts PLUS the length of your lower leg (below the kneecap to the ground while standing). Recommended height for beginners: 2 feet to 2 feet 6 inches for adults, 18 inches to 2 feet for children.
B) 2 by 2 that has a height of 4 inches.
C) 1 by 4 or 3/4 inch ply that has a height of 4 inches and length of 6 inches.
D) Prism shape.
E) 1 by 6 or 3/4 inch ply that has a length of 4 to 7 inches on one side, height of 6 inches. Along the bottom, leave about 1 inch and then cut on a diagonal up to the middle of one side.
F) 1 by 4 or plywood that has a height of 7 to 10 inches.
G) 2 by 2.
Cut two (2) of each shape except E. Cut four (4) of Shape E.
Instructions from Walk of The Woods
Instructions on how to create tree costumes from Walk of The Woods can be found below.

Leafy Headdress and wrist set
What kind of tree would you like to be?
Find a reference, and check out the shape of the leaves or needles and how they’re arranged on the stem.
Here’s an easy-to-make leafy headdress and leafy wrist set.You need:
Stiff cardboard for the base (or fabric)
Stiff paper or card for the leaves
Glue, tape, and/or staples
If front and back need to be different shades, paint, or glue tissue paper to one side of each leaf.
(You could, instead attach two layers of fabric together by sewing or using fusible interfacing).
Glue or tape pipe cleaners to the leaves and then to the headband.
Use fabric or elastic around your wrists.

Simple tunic for tree trunk
What does your tree’s bark look/feel like?
You can make a simple fabric tunic to match it. (Perhaps you can find textured fabric that looks like bark…?).
Measure out a tunic that is the length from your shoulders to your ankles. Ensure you cut out two panels for the front and the back. These two panels can either be sewed together at the shoulders or simply be folded over from one length of fabric.
Cut out a hole for your neck
If front and back panels not connected, sew together along sides and shoulders. Or, even easier, just stitch a tie to front and back.
3 ways to make plain fabric look like bark:
Paint
Stencil:
A: Cut a shape out from cardboard
B: Lay the stencil on the fabric and dab paint over it with a sponge
C: Repeat until covered. Try two colours for texture.
Tie-dye:
You will need cotton fabric and dye.
Tightly twist a length of fabric, let it twist again on itself.
Wrap with string or elastics.
Place the bundle in a bucket of dye then rinse and unwrap

Cardboard costume for tree trunk
Start with a large sheet of cardboard from a box.
To make it bend in a curve, cut lines on one side part way through using a knife and a ruler in the same direction as the corrugation (called scoring).
To texture the surface to be like bark, lay a large piece of brown paper (longer than the cardboard) over the un-cut sided.
Cover an area of the cardboard with glue then scrunch the paper as you lay it in the glue. Press. Keep scrunching until it’s all attached. Scrunch some roots with the extra length of paper.
Cut holes for your eyes and arms.
You can use the white glue mixed with water or follow this recipe for home-made Lovely Glue:
Place one cup of flour + one cup COLD water in a saucepan and whisk until smooth.
Add five cups HOT water (from the tap) then stir constantly as you heat it on the stove.
Make sure you let it cool before using!!!!
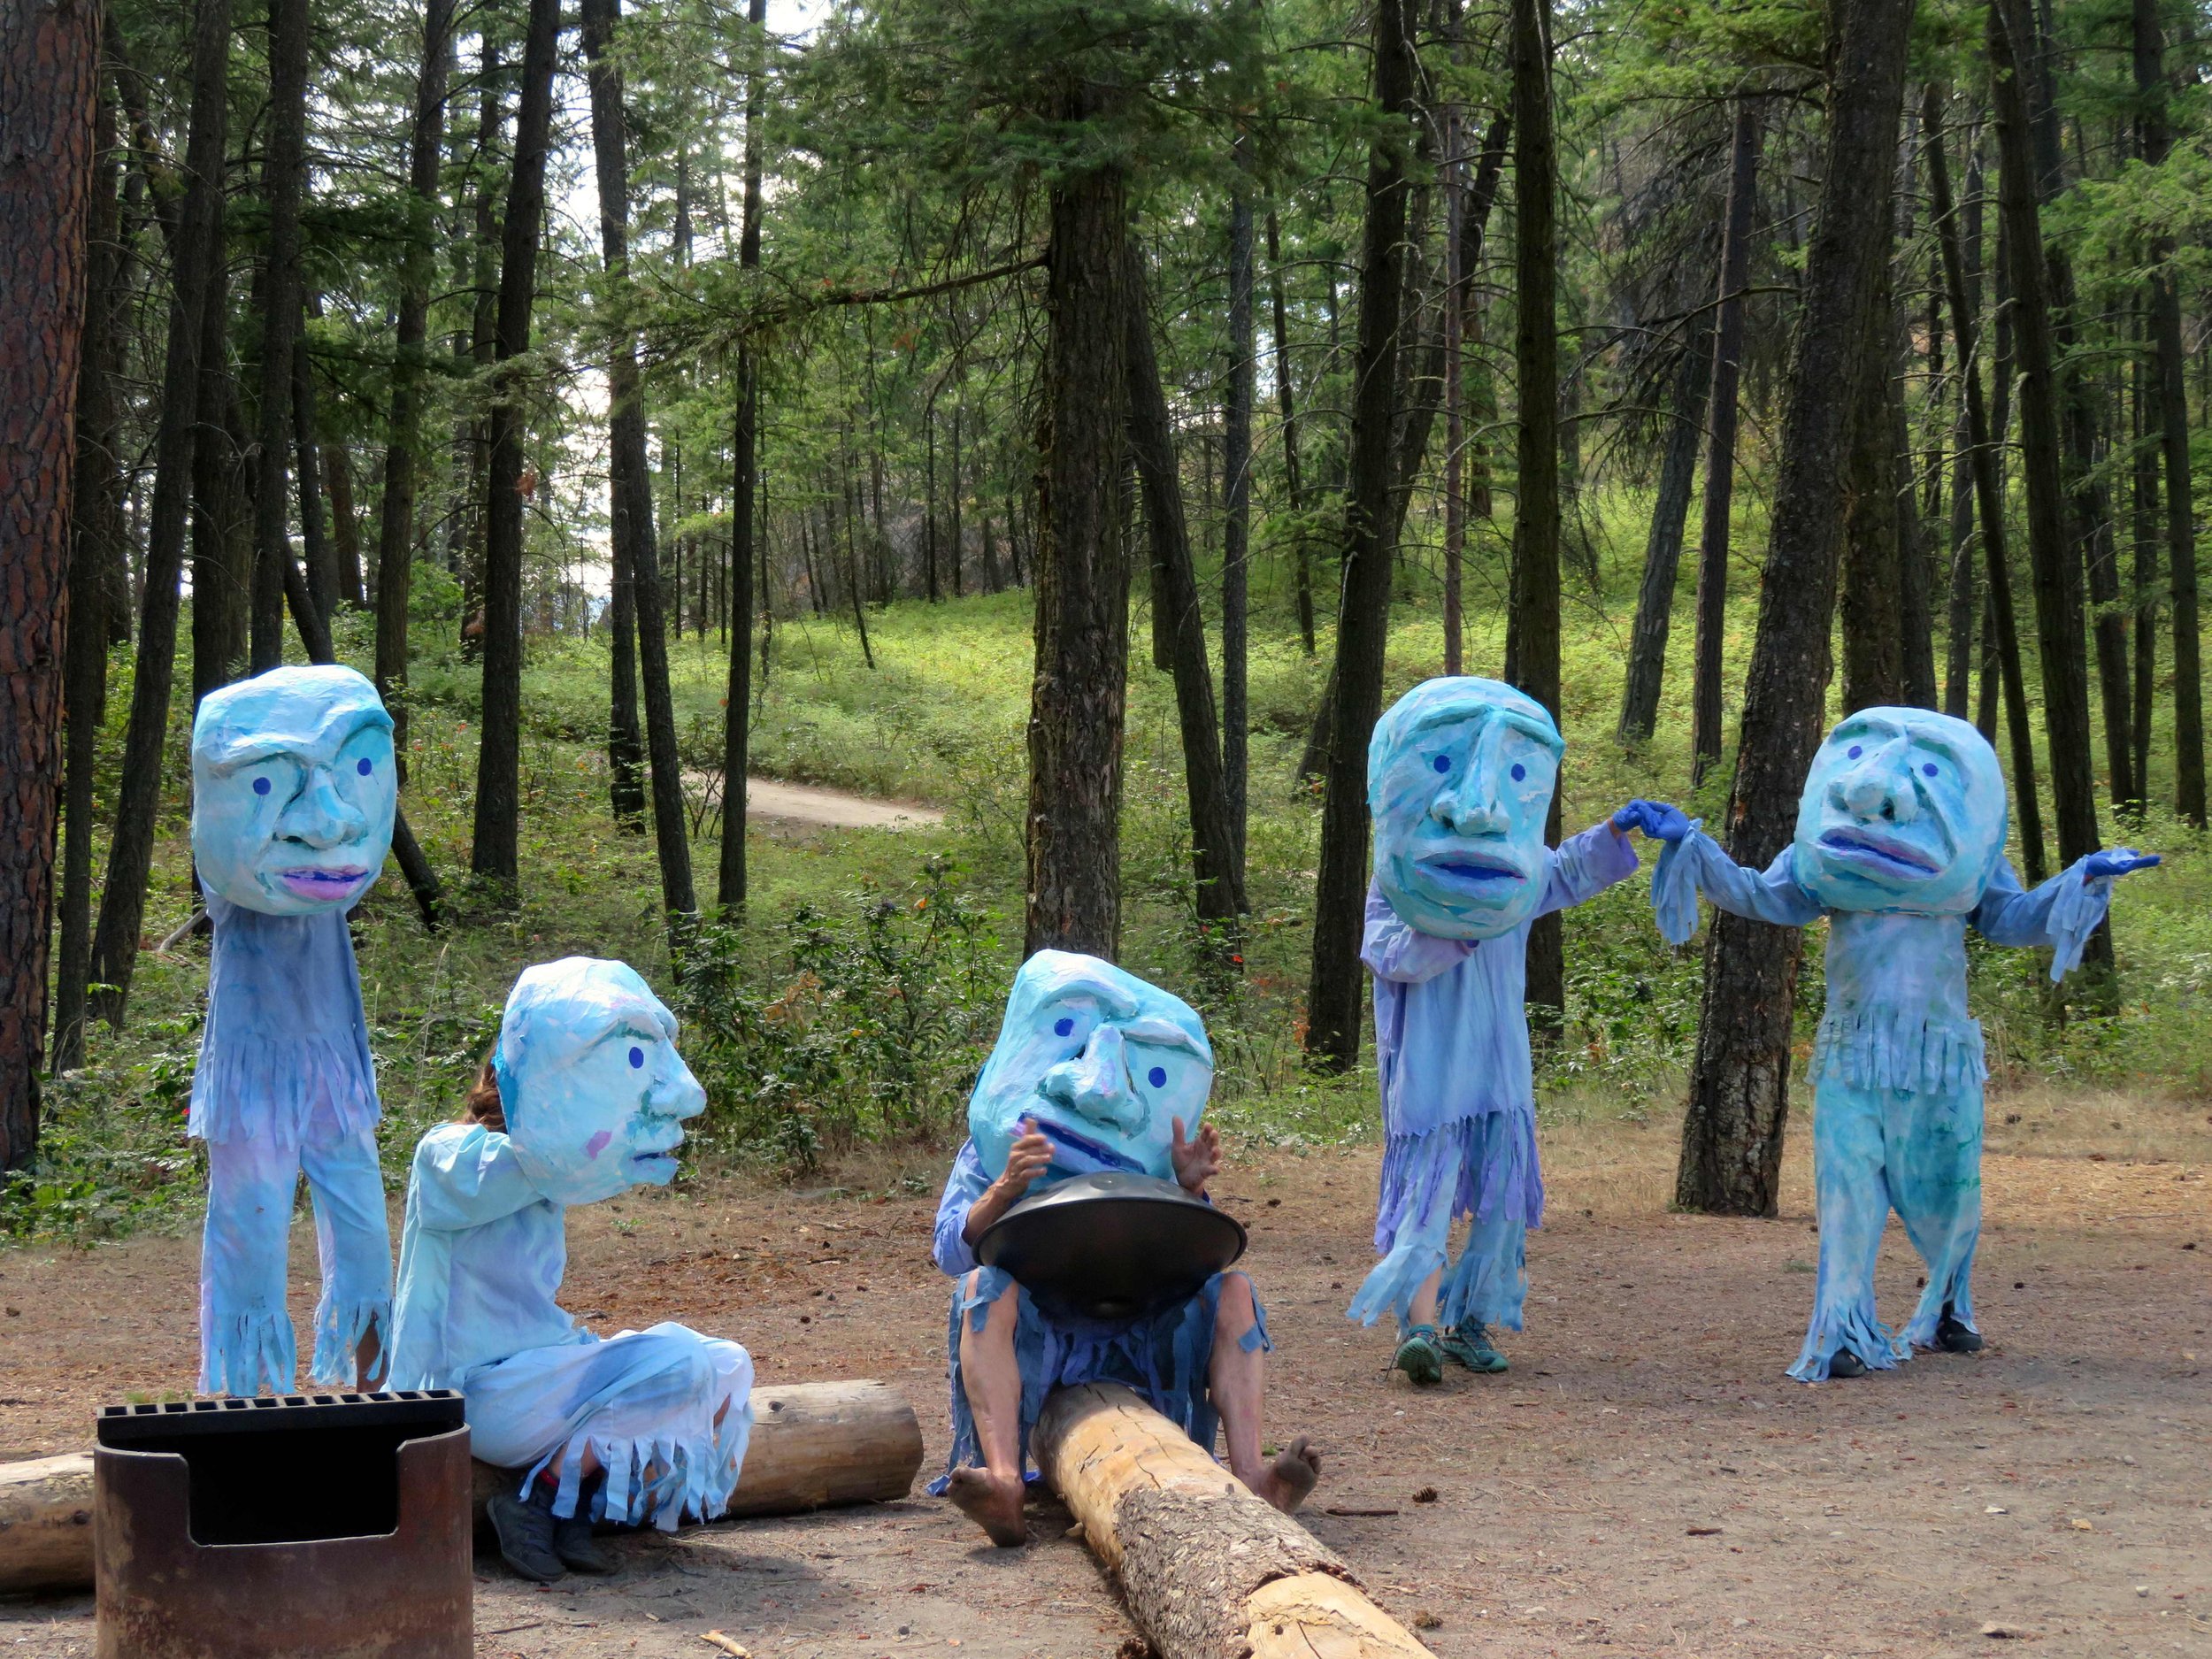
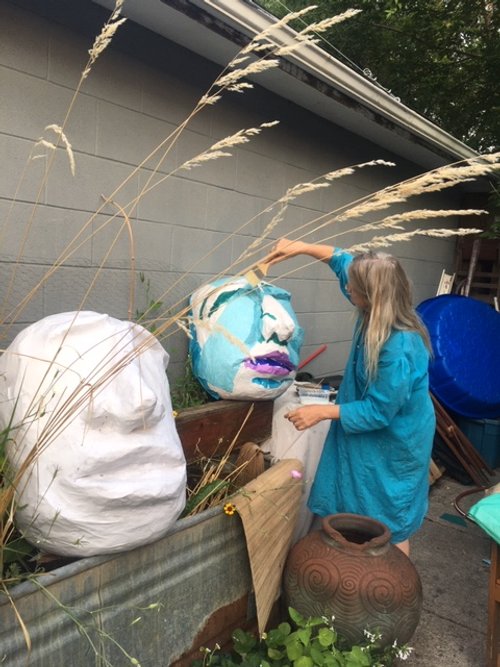
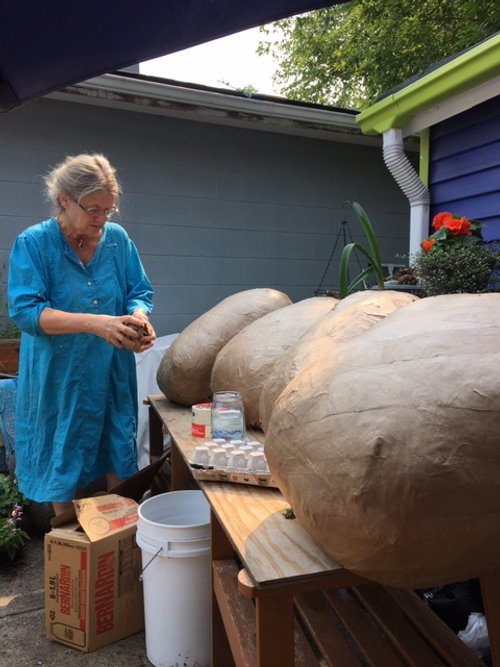
Big Masks
Instructions on how to create the big masks from SPLASH coming soon.


Puppet Heads
Instructions on how to create the puppet heads from 21 Ways To Make The World Last Longer coming soon.